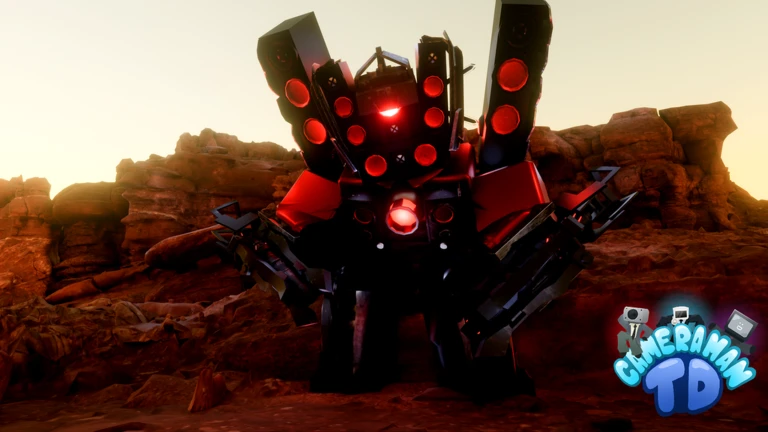
- Nightmare Mode is the highest-pressure difficulty in Cameraman Tower Defense, testing full team builds.
- Layered defense: combine sustained damage, boss burst, control, and support instead of pure damage stacking.
- Economy discipline: never spend all currency before the strongest waves arrive.
- Placement matters: reserve the longest firing lanes for boss-focused damage units.
- Co-op roles: assign opening defender, economy, support, and late-wave damage before the match starts.
What Nightmare Mode Changes
Nightmare Mode in Cameraman Tower Defense is the game's most demanding challenge setting, built on the same wave-defense foundation as standard play but with dramatically tighter requirements. Enemy durability and speed rise much faster than in normal runs, leaving almost no time to recover from missed upgrades or leaked enemies. Every decision — loadout, placement, upgrade order, and currency timing — carries more weight.
The core gameplay remains unchanged: deploy Cameraman, Speakerman, and Titan units along the route, defeat incoming toilet enemies wave by wave, and prevent leaks. What changes is the margin for error. The following table breaks down how Nightmare pressure differs from standard modes:
| Aspect | Standard Mode | Nightmare Mode |
|---|---|---|
| Enemy health growth | Steady, predictable | Fast, punishes slow scaling |
| Enemy speed | Moderate | Higher, reduces damage windows |
| Economy margin | Forgiving | Tight, requires planned spending |
| Boss encounters | Manageable late waves | Dangerous, need dedicated burst damage |
| Recommended team | General damage setup | Layered roles with control and support |
| Recovery from leaks | Often possible | One or two leaks can end the run |
Do not enter Nightmare Mode until you can clear Hard or Challenge difficulty consistently without leaks. Jumping in early wastes currency and time on runs that collapse in the mid-game transition.
Best Unit Roles for Nightmare Runs
Nightmare Mode rewards specialization over generalization. A team of identical damage units fails because late waves mix high-health bosses, fast rushers, and dense groups — no single damage type answers all three. Build around clearly assigned roles instead.
Opening Defender
- Low-cost early damage
- Stabilizes first waves cheaply
- Frees currency for later investment
Sustained Damage
- Reliable single-target output
- Carries mid-game transition
- Scales well through upgrades
Control & Support
- Slows or debuffs enemies
- Extends damage windows
- Buffs nearby damage units
Boss Burst
- Titan-class high damage
- Long-range placement priority
- Reserved for high-health targets
Titan units deserve special attention here. Their high deployment cost and strong late-game scaling make them natural Nightmare carries, but only when the rest of the team protects the early waves while you save up for them.
| Unit Role | Placement Priority | Upgrade Timing | Best Wave Phase |
|---|---|---|---|
| Opening Defender | First bend, path coverage | Early, cheap levels | Waves 1-5 |
| Economy Unit | Safe rear positions | Before pressure spikes | Early to mid |
| Sustained Damage | Central long lanes | As soon as affordable | Mid game |
| Control/Support | Position reaching multiple clusters | After core damage is stable | Mid to late |
| Titan / Boss Burst | Longest remaining path | Save currency for milestones | Final waves |
If your team lacks total damage, replace a support slot with a second damage dealer. If fast or dense waves break through too quickly, replace a damage slot with additional control instead.
Step-by-Step Nightmare Strategy
Follow this sequence to structure a full Nightmare run from lobby to final boss wave. The order matters: skipping the loadout check or the economy plan is the most common cause of early collapse.
Verify Your Loadout
Confirm your equipped units cover four needs: affordable opening damage, economy, sustained mid-game damage, and a late-game boss answer. Do not queue with a purely experimental build on Nightmare difficulty.
Stabilize the Opening Waves
Place your cheapest dependable damage unit near the first major bend so it attacks enemies for the maximum portion of the route. Upgrade it once or twice before adding anything else.
Invest in Economy
Once the opening waves are stable, place economy units in safe rear positions. Stop investing when you have enough income to fund your planned mid-game upgrades without waiting.
Build the Mid-Game Core
Add sustained damage units along the longest firing lanes, and position support or control where its effect covers multiple defensive clusters rather than one group.
Save for the Boss Phase
Hold currency before the strongest waves. Deploy Titan or boss-focused damage units in positions that stay active across most of the route, then complete remaining upgrade milestones as the encounter begins.
Upgrade reliable existing damage before buying unnecessary extra units. A fully upgraded core unit almost always outperforms two half-invested ones on Nightmare difficulty.
Placement and Map Fundamentals
Map layout determines how much time enemies spend inside your attack range, and on Nightmare difficulty that time is the scarcest resource. Before placing any unit, read the route: identify the longest straight lanes, the sharpest bends, and any split paths where coverage could be wasted.
Key placement principles:
- Bends and intersections first: enemies spend the most time in range at corners, making them the highest-value positions.
- Reserve the best lane for boss damage: do not fill the longest firing lane with short-range units.
- Spread control coverage: a support or slow effect reaching two clusters beats one covering a single tight group.
- Leave upgrade room: some units have large placement footprints at higher levels — do not box them in early.
- Cover the exit: keep at least one cleanup damage unit near the end of the path to catch leaks.
| Map Feature | Nightmare Value | Recommended Use |
|---|---|---|
| Sharp bend | High | Opening defenders, area damage |
| Long straight lane | Very high | Titan and boss-focused units |
| Split paths | Situational | One coverage unit per branch |
| Path end / exit | Safety net | Cleanup damage for leaks |
| Central hub | High | Support and control units |
In multiplayer Nightmare runs, divide lane responsibility before spending any currency. Overlapping identical coverage while another lane sits empty is the most common co-op failure pattern.
Nightmare Preparation Checklist
Run through this checklist before and during every Nightmare attempt. Each item addresses one of the recurring failure points that end runs prematurely.
Nightmare Mode Checklist:
- Cleared Hard difficulty consistently without leaks
- Loadout includes opening damage, economy, sustained damage, and a boss answer
- Opening defender placed at the first major bend
- Economy units placed before mid-game pressure arrives
- Currency saved for boss-wave milestone upgrades
- Cleanup unit positioned near the path exit
FAQ
Q: Is Nightmare Mode the same as Endless Mode in Cameraman Tower Defense?
No. Nightmare is a high-difficulty setting with fixed wave progression and stronger enemies, while Endless Mode continues generating increasingly difficult waves indefinitely. Nightmare requires completing a final set of encounters; Endless tests long-term survival and resource management.
Q: Can I beat Nightmare Mode solo?
Yes, but it requires a mature unit collection and disciplined economy management. A solo setup should combine an affordable early damage unit, economy generation, reliable single-target damage, and a late-game carry such as a Titan-class unit. Co-op runs are generally more forgiving because roles can be divided between players.
Q: Should I summon new units before attempting Nightmare Mode?
Avoid spending all available currency on summons right before a Nightmare attempt. Keep enough currency to fund your opening defense and first upgrades. Summons expand your collection over time, but an underfunded first wave ends a Nightmare run immediately.
Q: What is the most common reason Nightmare runs fail?
Overspending early. Players who buy extra units instead of upgrading a reliable core, or who spend all currency before the strongest waves, lack the firepower to handle late boss encounters. Upgrade discipline and saved currency for milestone upgrades are the strongest corrections.