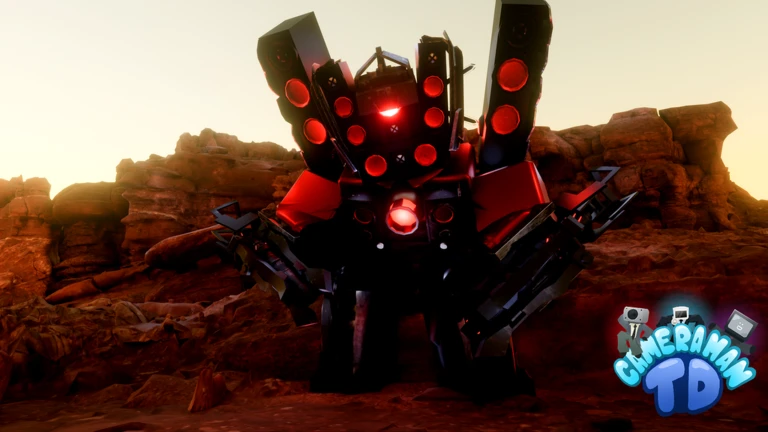
- Cameraman Tower Defense hard mode raises enemy durability, speed, and late-wave pressure significantly.
- Layered defense wins: combine sustained damage, burst damage, control, and support instead of stacking one damage type.
- Economy timing matters: invest in income only after the opening waves are stable.
- Placement first: use the longest firing lanes and avoid short-coverage positions for key units.
- Save currency: reserve funds for milestone upgrades before the strongest waves.
What Changes in Cameraman Tower Defense Hard Mode
Hard mode (also called Challenge Mode) in Cameraman Tower Defense uses a more demanding route or difficulty setting with tighter damage and economy requirements. Enemy durability and speed rise faster than in standard matches, leaving far less time to recover from missed upgrades or leaked enemies. Late waves bring stronger elite enemies and more dangerous boss encounters that punish single-purpose teams.
The core difference is not just bigger numbers — it is reduced margin for error. A build that survives normal mode by out-scaling enemies slowly will fall apart here because the wave pressure outpaces your income.
| Aspect | Standard Mode | Hard Mode |
|---|---|---|
| Enemy durability | Steady increase | Faster, steeper scaling |
| Recovery room | Leaks are forgiving | One leak can snowball |
| Economy timing | Flexible | Must be early but safe |
| Team build | One strong carry can work | Layered roles required |
| Late waves | Test the final defense | Elite and boss pressure |
| Rewards | Standard | Challenge rewards |
Most hard mode failures come from spending all available currency on early upgrades, then having nothing left when the elite or boss waves arrive. Always keep a reserve for milestone upgrades.
Team Composition for Hard Mode
A hard mode team needs clearly assigned roles rather than four copies of the same damage setup. Build around sustained damage, boss-focused burst, crowd control or slowing support, and one range or attack-speed buffer.
Sustained Damage
- High-output core for long lanes
- Consistent DPS through mid waves
- Best on bends and intersections
Burst / Boss Damage
- Single-target specialists
- Very high damage on priority targets
- Save for elite and boss waves
Control / Slows
- Extends enemy path time
- Catches fast and dense waves
- Place centrally for wide coverage
Support
- Range, damage, or attack-speed buffs
- Multiplies team output
- Position to reach multiple clusters
Use substitutions when needed: replace a support slot with another damage dealer when the team lacks total damage, or swap a damage slot for control when fast or dense waves reach your defense too quickly.
| Wave Phase | Priority | What to Build |
|---|---|---|
| Opening (1–5) | Cheap reliable damage | Affordable single-target units near the first bend |
| Mid game | Economy + area damage | Income after stable start, splash near intersections |
| Late waves | Burst + support | Boss damage and buffs on the longest lanes |
| Boss encounter | Everything upgraded | Full upgrade paths, saved currency spent here |
Do not bring only expensive or specialized units in your loadout. Hard mode punishes a weak opening — always include an affordable early-wave damage option.
Placement and Upgrade Strategy
Map layout determines how much time enemies spend inside attack range. In hard mode, prioritize the longest firing lanes first and avoid placing important units where they only cover a short section of the route. Corners, bends, and long straight lanes maximize the value of every unit.
Lock Down the First Defensive Zone
Place cheap, efficient damage near the entrance and first turn so every early wave is controlled without heavy spending. This zone buys time for your economy to come online.
Add Economy After Stability
Once the opening waves are stable, invest in income generation in safe positions that do not delay defensive coverage. Over-investing early leaves lanes uncovered.
Build the Central Damage Cluster
Cluster area damage around bends and intersections where enemies stay in range longest. Place support centrally so buffs reach multiple clusters at once.
Reserve Long Lanes for Boss Damage
Keep your highest single-target damage in positions that stay active for most of the route, so bosses take fire from the moment they spawn.
Spend Reserves Before the Final Waves
Use saved currency for milestone upgrades immediately before the strongest elite and boss waves, not scattered across mid-game purchases.
Upgrade reliable existing damage before buying unnecessary extra units. A fully upgraded core unit almost always outperforms two half-built ones in hard mode.
Handling Elite Enemies and Bosses
Late-match encounters in hard mode combine high-health targets, dense groups, and fast enemies that punish single-purpose teams. Regular waves lead into one or more high-pressure encounters that require completed upgrade paths and saved currency.
Your goal is to maintain both sustained and burst damage so the encounter ends before leaks become unavoidable. If fast enemies consistently reach your defense, add control or slows. If bosses survive your full damage window, add burst specialists rather than more early-game units.
| Threat Type | Best Answer | Placement Note |
|---|---|---|
| High-health boss | Burst single-target damage | Long lanes, active most of the route |
| Dense groups | Area / splash damage | Bends and intersections |
| Fast enemies | Control, slows, buffs | Central coverage zones |
| Mixed late waves | Layered full build | All roles upgraded before the wave |
If you fail on the same late wave repeatedly, the problem is usually total team damage or missing control — not placement. Rebuild toward the missing role before repositioning everything.
Pre-Match Checklist
Run through this list before entering any hard mode match on the official Roblox game page:
Before You Start Hard Mode:
- Loadout includes affordable early-wave damage
- At least one control or slowing option equipped
- Dedicated boss or burst damage in the loadout
- Support or buff unit available for team scaling
- Upgrade plan set for each wave phase
Hard Mode FAQ
Q: Is hard mode in Cameraman Tower Defense worth playing?
Yes, for experienced players. Hard mode offers challenge rewards and better progression value, but only attempt it once you can clear standard stages consistently without leaks.
Q: Can I beat hard mode solo?
It is possible with a well-rounded loadout combining early damage, economy, control, and boss damage. Co-op makes it more manageable because players can divide opening defense, income, support, and late-wave damage roles.
Q: When should I invest in economy in hard mode?
Only after your opening waves are stable. Investing in income too early leaves lanes uncovered, and hard mode's faster enemy scaling punishes uncovered lanes far more than standard difficulty.
Q: What is the most common reason hard mode runs fail?
Spending all currency on early upgrades and arriving at the elite or boss waves with unfinished build paths. Keep a reserve and complete milestone upgrades before the strongest waves.