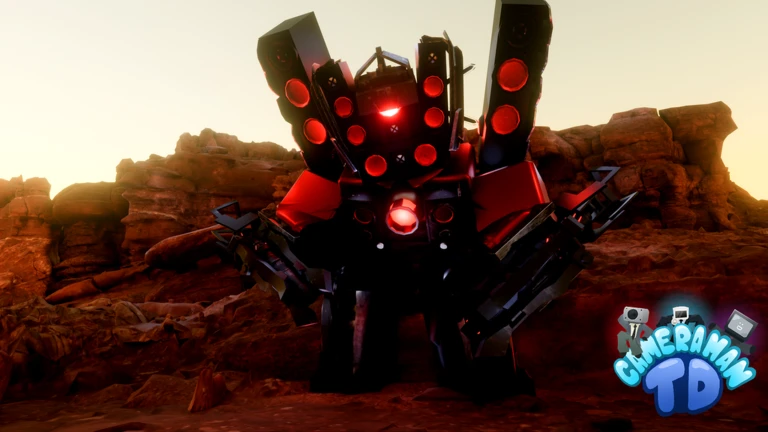
- Insane Mode is the hardest difficulty tier, demanding layered defenses and near-perfect economy timing.
- Team roles matter more than rarity: opening defense, economy, support, and boss damage must be assigned clearly.
- Placement is decisive: use bends and long lanes so units attack for the longest possible time.
- Save currency for milestone upgrades before the strongest waves instead of spending everything early.
- Leak recovery is limited: enemy speed and durability scale fast, so a single missed upgrade can end a run.
What Makes Insane Mode Different
Insane Mode sits at the top of Cameraman Tower Defense's difficulty ladder. Enemy durability and speed rise faster than in standard play, leaving far less room to recover from missed upgrades or leaks. The wave structure follows the same overall progression as lower difficulties, but late waves and boss encounters punish single-purpose teams hard.
The core differences come down to four pressure points:
| Category | Standard Mode | Insane Mode |
|---|---|---|
| Enemy durability | Gradual increase | Fast scaling from mid waves |
| Economy margin | Forgiving | Tight; wasted currency loses runs |
| Upgrade timing | Flexible | Must hit milestones before strong waves |
| Team structure | One strong carry can suffice | Layered roles required |
| Boss encounters | Manageable with general damage | Needs dedicated burst and control |
Joining Insane Mode before understanding unit placement and wave flow usually ends the run within the first few boss waves. Clear hard-mode maps consistently first, then bring a build designed for layered defense.
A demanding route with tighter damage and economy requirements means you must select the mode first, then build a defense that matches its wave pressure — not the other way around.
Best Team Structure for Insane Mode
Difficult stages require a layered defense rather than a single damage type. Combine sustained damage, burst damage, control effects, and support so the team survives both ordinary waves and boss encounters.
Opening Defense
- Affordable early damage
- Covers entrance and first turn
- Stabilizes waves 1-5 cheaply
Mid-Game Core
- Sustained area damage
- Clusters around bends and intersections
- Carries waves 6-15
Late-Game Boss Plan
- Burst damage + control
- Longest firing lanes
- Reserved currency for milestone upgrades
The role checklist below maps each slot to its placement duty:
| Role | Placement Duty | Upgrade Priority |
|---|---|---|
| Opening defender | Entrance and first bend | Low; replaced later |
| Economy unit | Safe spot, no delay to coverage | Only after waves are stable |
| Area damage | Bends and intersections | Medium; steady scaling |
| Support/control | Central position reaching multiple clusters | Medium |
| Boss burst damage | Longest lane coverage | High; save currency for milestones |
If fast or dense waves reach your defense too quickly, replace a damage slot with control. If total damage falls short on bosses, swap a support slot for a second burst dealer instead.
Step-by-Step Insane Mode Run
Follow this sequence in every run. The order matters: economy invested too early leaves lanes uncovered, while boss damage bought too late arrives after the run has failed.
Stabilize the Opening
Place affordable damage units near the entrance and first bend. Clear the opening waves without leaks and without overspending — your goal is a cheap, stable start, not maximum output.
Invest in Economy
Once the first waves are stable, add economy units in safe positions that do not delay defensive coverage. Coordinate with teammates in co-op so only one player carries the economy role.
Build the Mid-Game Core
Add area damage around bends and intersections, plus a support or control unit in a central position where its effect reaches multiple defensive clusters.
Save for Milestone Upgrades
Stop spending freely before the strongest waves. Reserve currency so you can complete the full upgrade path on your boss damage units at the moment pressure peaks.
Execute the Boss Plan
Place burst damage and control in the longest firing lanes so they stay active for most of the route. Watch for fast enemies leaking past the core and keep cleanup damage near the path's end.
If a leak happens mid-run, do not panic-buy extra units. Upgrade your most efficient existing damage instead — scattered low-level units scale worse than one fully upgraded core defender.
Placement Principles and Common Mistakes
Map layout determines how much time enemies spend inside attack range. Before the match starts, identify the bends, long lanes, and any separated routes that split your coverage.
Key placement principles:
- Use corners and long path sections to maximize attack time per unit.
- Avoid placing every unit in one small area on multi-route maps.
- Leave room for later upgrades or units with larger placement footprints.
- Do not overlap identical coverage when a teammate can defend the same area more efficiently.
- Keep boss damage units where they attack for the greatest portion of the route.
| Mistake | Consequence | Fix |
|---|---|---|
| Overspending on summons before the match | No currency for mid-wave upgrades | Reserve funds for in-match milestones |
| All units in one cluster | Leaks on uncovered routes | Spread coverage across lanes |
| Economy too early | Unstable opening waves | Stabilize defense first |
| No boss plan | Late-wave collapse | Reserve burst damage and currency |
| Ignoring fast enemies | End-of-path leaks | Add cleanup damage near the exit |
High-health targets, dense groups, and fast enemies appear in combination on Insane Mode. A team built around only one damage type will be punished during mixed late waves.
Pre-Run Checklist
Run through this checklist before every Insane Mode attempt. Each item prevents one of the most common failure causes.
Before You Start:
- Clear hard-mode maps consistently without leaks
- Equip a balanced loadout, not only expensive units
- Assign roles in co-op: opening, economy, support, boss damage
- Identify bends and long lanes for placement
- Confirm currency reserve plan for milestone upgrades
Balance changes to damage, range, attack speed, or enemy durability can break a previously reliable Insane Mode build. Re-test your setup after each major update before pushing high-difficulty clears — check the official Roblox game page for the latest patch notes.
FAQ
Q: What is the best team for Cameraman Tower Defense Insane Mode?
A layered structure works best: one affordable opening defender, an economy unit added after the first stable waves, sustained area damage around bends, a central support or control unit, and dedicated boss burst damage saved for the late waves. Rarity alone matters less than each unit fulfilling its role efficiently.
Q: When should I invest in economy on Insane Mode?
Only after the opening waves are stable. Investing in economy before your defense can handle early enemies leaves lanes uncovered, and Insane Mode's fast enemy scaling gives you very little time to recover from leaks.
Q: How do I handle fast enemies leaking through my defense?
Keep cleanup damage near the end of the path to catch leaks, and consider replacing one damage slot with crowd control or slowing support. Fast enemies punish teams that rely solely on slow, high-damage attackers.
Q: Should I play Insane Mode solo or in co-op?
Co-op is recommended. When players divide responsibilities — one covers the opening, one runs economy, others handle support and boss damage — the same wave progression becomes far more manageable because no player duplicates spending or leaves a role uncovered.