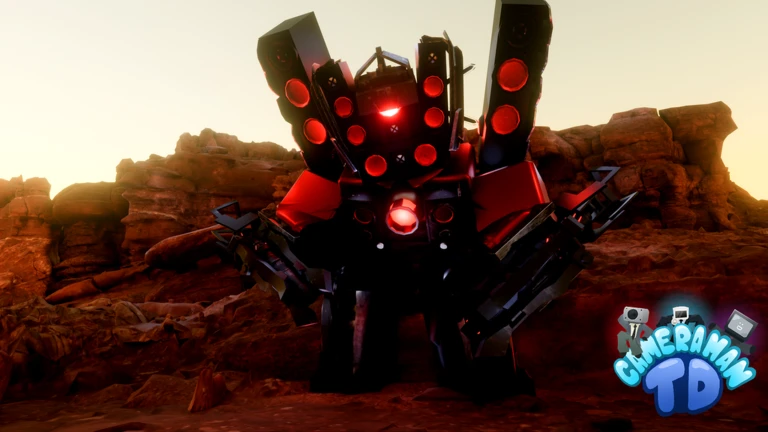
- Solo wins in Cameraman Tower Defense come from balanced loadouts, not expensive units
- Open cheap: place early damage near the first bend before investing in economy
- Upgrade over expand: strengthen reliable damage before buying extra units
- Save currency before boss waves so you can respond to pressure
- Farm smart: repeatable clears beat risky max-difficulty attempts
Solo Fundamentals: Why Solo Play Is Different
Playing Cameraman Tower Defense alone removes the safety net of teammates. Every lane, upgrade, and economy decision is yours, so one mistake compounds across all waves. Solo matches reward a disciplined structure: affordable opening damage, a compact economy package, dependable mid-game damage, and one late-game carry.
You can practice these skills on the official Roblox game page, developed by Aligators Games.
| Aspect | Solo Play | Co-op Play |
|---|---|---|
| Lane coverage | One player covers everything | Roles split across players |
| Economy timing | Slower, must be self-funded | Specialists can invest early |
| Mistake recovery | No teammate backup | Team can compensate |
| Best difficulty | Highest consistent clear | Coordinated high difficulty |
| Loadout style | Balanced all-rounder | Specialized roles |
Your goal is not maximum damage — it is consistent clears. A slightly easier stage you win every time produces more coins and progression than a hard stage you fail half the time.
Building a Solo Team
Opening Damage
- Low cost, fast attack
- Covers the entrance and first turn
- Stabilizes waves 1-5 cheaply
Economy Unit
- Generates income over time
- Place only after opening is stable
- Funds mid-game scaling
Late-Game Carry
- High single-target or area damage
- Reserve long-range positions
- Answers bosses and elite waves
When choosing which slots to fill, compare more than rarity — attack type, range, upgrade scaling, and placement limits matter more for solo clear rates.
| Role | Attack Type | Range | Priority | Solo Notes |
|---|---|---|---|---|
| Early damage | Single-target | Short-medium | 1st | Cheapest path to stable opening |
| Economy | Utility | Varies | 2nd | Only after waves 1-5 are safe |
| Area damage | Splash | Medium | 3rd | Great at bends and intersections |
| Boss damage | Single-target | Long | 4th | Keep active on longest path section |
| Support | Buff/control | Varies | Situational | Use when waves outpace your damage |
If opening waves leak enemies, swap the economy slot for extra early damage. If dense groups overwhelm you, trade the late-game carry for crowd control.
Match Flow: Step-by-Step Solo Run
Prepare the Loadout
Equip a balanced set: one affordable damage unit, one economy option, one reliable single-target attacker, and one late-game carry. Check placement limits before queuing.
Secure the Opening
Place cheap damage near the first major bend so enemies stay in range for the maximum time. Do not spend on summons before the match starts.
Invest in Economy
Once waves 1-5 clear without leaks, add economy units in safe positions that do not delay defensive coverage.
Upgrade Reliable Damage
Push upgrades on your best-performing attacker before buying redundant units. Compare upgrade costs against new unit costs each wave.
Set Up the Late Game
Place your carry in a long-range position covering the longest path section. Hold a currency reserve for boss-wave emergency upgrades.
Spending everything on early upgrades is the fastest way to lose a solo run. Always keep enough currency to respond to the next wave, especially before boss encounters.
Placement Strategy and Map Reading
Placement decides how much value each unit delivers. Corners, long lanes, and intersections multiply attack time; a unit covering one short path segment wastes most of its range.
| Map Feature | Best Placement | Why It Works |
|---|---|---|
| Corners and bends | Area damage | Enemies slow through turns, splash hits groups |
| Long straight lanes | Sustained single-target | Maximum time inside attack range |
| Intersections | Support and buffs | Effects reach multiple defensive clusters |
| Path end | Cleanup damage | Catches leaks before they escape |
| Multiple routes | Split early damage | Avoid stacking everything on one lane |
Before placing a high-cost unit, check how much of the route it actually covers. A cheaper unit on a longer firing lane often outperforms an expensive unit with poor coverage.
Boss Waves and Solo Farming Goals
Boss encounters punish single-purpose builds. Layer sustained damage, burst damage, and control effects, and time major upgrades to land just before the strongest waves arrive. When farming coins solo, record your average completion time per stage and compare it against rewards — fast, repeatable wins usually beat slower high-difficulty attempts.
Move up in difficulty only when your current stage is boring, not just survivable. The best farming route is the highest stage you clear without retries.
Solo Progression Checklist:
- Clear the easiest difficulty without leaks
- Build a stable four-role loadout
- Add an economy unit to every run
- Beat your first boss encounter solo
- Find your highest consistent farming stage
Solo Guide FAQ
Q: Is solo play viable in Cameraman Tower Defense?
Yes. A balanced solo loadout — early damage, economy, mid-game damage, and a late-game carry — can clear standard and many hard stages without teammates, though coordination-based co-op stages remain easier in a group.
Q: What is the biggest mistake in solo runs?
Spending all currency on early upgrades or summons. Solo players must keep a reserve so they can react to stronger waves and boss encounters.
Q: Should I judge units by rarity when playing solo?
No. Compare cost efficiency, range, upgrade scaling, and placement flexibility. A low-rarity unit that covers a long lane often contributes more than a high-rarity unit with poor coverage.
Q: Which difficulty should I farm solo?
Farm the highest difficulty you can clear consistently without retries. Fast, repeatable wins generate more coins over time than risky attempts at maximum difficulty.