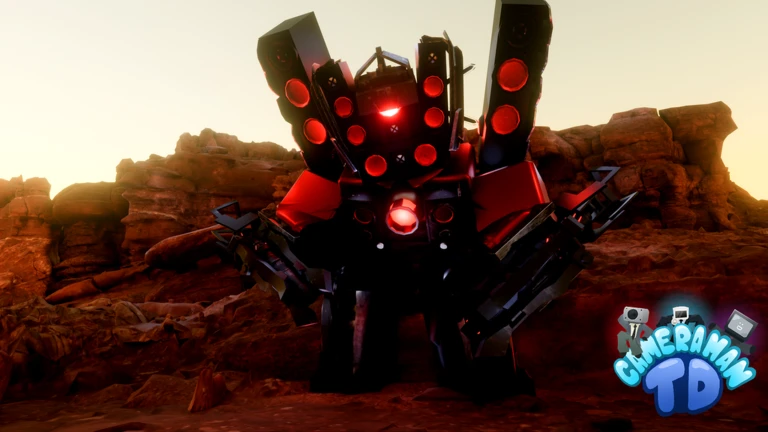
- Cameraman Tower Defense hard mode raises enemy durability and speed faster than standard stages.
- Layered defense beats single-damage builds: combine sustained damage, burst, control, and support.
- Placement matters most: use the longest firing lanes before adding short-coverage units.
- Save currency for milestone upgrades before boss and elite waves.
- Co-op roles (opening defense, economy, support, boss damage) make hard clears far more consistent.
What Makes Hard Mode Different
Hard mode in Cameraman Tower Defense tightens both damage and economy requirements. Enemy durability and speed rise faster than in standard story mode, leaving less room to recover from missed upgrades or leaked enemies. Late waves bring stronger elite and boss encounters that punish teams built around a single damage type.
The core differences come down to four pressure points:
| Factor | Standard Mode | Hard Mode |
|---|---|---|
| Enemy durability | Steady increase | Rises faster each wave |
| Recovery time | Leaks are forgiving | Minimal recovery window |
| Economy pressure | Flexible spending | Tight damage-per-coin budget |
| Late waves | Moderate test | Elite and boss encounters |
Most failed runs come from spending all currency on early upgrades. Keep a reserve so you can respond to the strongest waves and complete upgrade paths before boss encounters begin.
Because hard mode routes demand more from every coin, unit value depends on practical performance — cost efficiency, range, upgrade scaling, and team utility — rather than rarity alone.
Best Team Composition for Hard Mode
Hard mode requires a layered defense rather than a stack of identical damage units. Build around clearly assigned roles so every player or slot knows which lanes to cover and when to upgrade.
Opening Damage
- Affordable early-wave clear
- Covers entrance and first turn
- Stabilizes opening economy
Sustained Damage
- Consistent mid-to-late output
- Long range for extended coverage
- Core of the defense
Control / Support
- Slows or debuffs enemies
- Extends time in damage zones
- Buffs nearby clusters
Boss Burst
- Very high single-target damage
- Long range, slow attack speed
- Positioned for maximum route coverage
Use this reference to compare unit roles and where they fit in a hard mode build:
| Role | Attack Type | Range | Best Use | Priority |
|---|---|---|---|---|
| Early damage | Single-target, fast | Short-medium | Opening waves | ★★★★ |
| Area damage | Splash | Medium | Dense enemy groups | ★★★★★ |
| High-damage | Single-target | Medium-long | Elites and late waves | ★★★★★ |
| Support | Utility | Varies | Buffs, debuffs, control | ★★★★ |
| Boss-focused | Single-target | Long | Boss encounters | ★★★★★ |
If the team lacks total damage, replace a support slot with another damage dealer. If fast or dense waves reach your defense too quickly, replace a damage slot with control instead.
Hard Mode Clear: Step-by-Step Strategy
Follow this sequence to convert a standard build into a hard mode winner:
Scout the Route
Before spending currency, identify the longest firing lanes, major bends, and intersections. Hard mode punishes units placed where only a short section of the route is covered.
Build the Opening Defense
Place affordable early damage near the entrance and first turn. Stabilize the first waves cheaply before any economy or late-game investment.
Add Economy After Stability
Invest in income only once the opening waves are consistently cleared. Position economy units safely so they never delay defensive coverage.
Layer Mid-Game Damage and Control
Cluster area damage around bends and intersections, then add control or support where its effect reaches multiple defensive clusters.
Prepare for Boss Waves
Place boss damage in positions that stay active for the greatest portion of the route, and save currency for milestone upgrades before the strongest waves arrive.
Use the longest firing lanes first. A unit covering the full route for eight seconds outperforms a stronger unit covering it for three.
Co-Op Hard Mode: Dividing Roles
Co-op teams perform best in hard mode when players divide responsibilities instead of building identical damage setups. Assign roles before spending any currency.
| Player Role | Responsibility | Key Placement |
|---|---|---|
| Opening defender | First lane coverage, early upgrades | Entrance and first turn |
| Economy specialist | Income generation and timing | Safe rear positions |
| Support/control | Buffs, slows, debuffs | Central, multi-cluster coverage |
| Boss damage | Late-wave and boss burst | Longest path or final zone |
Do not duplicate coverage another player handles more efficiently. Every duplicated unit wastes currency the team needs for milestone upgrades before boss waves.
Pre-Run Checklist
Before entering a hard mode match, confirm every item below:
Hard Mode Preparation:
- Loadout includes opening damage, sustained damage, control, and boss burst
- Longest firing lanes identified on the map
- Currency reserve plan set for milestone upgrades
- Co-op roles assigned before the match starts
- Redeemed all active codes and claimed available rewards
Hard mode rewards generally justify the added risk only when your clear rate is stable. If runs frequently fail, drop to a difficulty you can clear consistently and return with stronger units.
Hard Mode FAQ
Q: What is the best team for Cameraman Tower Defense hard mode?
A layered build works best: affordable opening damage, sustained area damage for dense waves, control or support to extend enemy time in your damage zones, and dedicated boss burst. Rarity matters less than cost efficiency, range, and upgrade scaling.
Q: Why do my hard mode runs fail at late waves?
The most common cause is spending all currency on early upgrades, leaving nothing for milestone upgrades before elite and boss waves. Save a reserve and complete upgrade paths on your core damage units before the strongest waves.
Q: Is co-op better than solo for hard mode?
Co-op makes hard mode significantly more consistent when roles are divided — one player stabilizes the opening, one handles economy, one plays support, and one focuses on late-wave and boss damage. Uncoordinated teams often perform worse than a solo run.
Q: Should I farm hard mode for coins?
Only if your team clears it reliably. A slightly lower difficulty with fast, repeatable wins usually earns more coins per hour than a hard stage that frequently ends in failure.