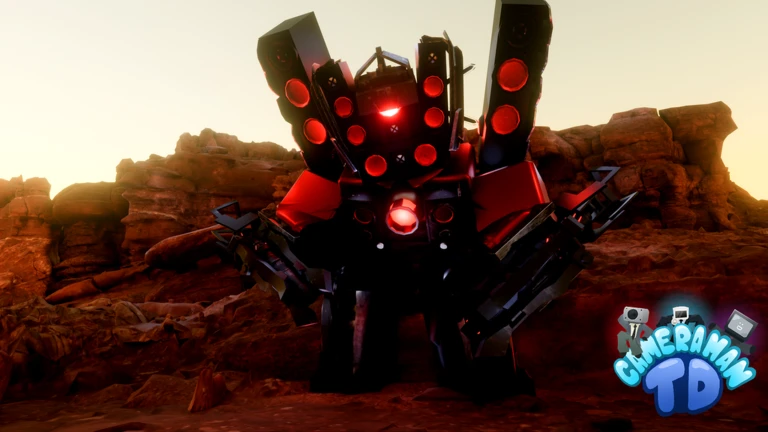
- Cameraman Tower Defense Insane Mode demands a layered defense, not raw damage alone
- Team composition matters most: combine sustained damage, boss burst, control, and support
- Upgrade timing beats unit count — save currency for milestone upgrades before the hardest waves
- Placement discipline: use the longest firing lanes and never stack every unit in one spot
- Co-op coordination divides roles so no lane or wave goes uncovered
What Makes Insane Mode Different
Insane Mode is the highest pressure challenge in Cameraman Tower Defense. Enemy durability and speed rise far faster than in standard runs, leaving little room to recover from a missed upgrade or a leaked fast enemy. A defense that comfortably clears Normal difficulty will collapse here without changes to team structure, placement, and economy timing.
The core differences you must plan around:
| Factor | Normal Mode | Insane Mode |
|---|---|---|
| Enemy health | Moderate, steady growth | Sharp spikes in mid and late waves |
| Enemy speed | Mostly slow to medium | Fast enemies appear early and often |
| Economy room | Forgiving, spend freely | Tight — every currency decision matters |
| Boss waves | Manageable with general damage | Require dedicated burst and control |
| Leak tolerance | 1-2 leaks recoverable | Single leaks can snowball into failure |
| Team needs | One strong damage core | Layered roles with assigned duties |
Do not enter Insane Mode with only starter units. Build a collection that includes at least one reliable high-damage option, one crowd-control or slowing option, and one boss-focused unit before attempting the hardest difficulty.
Best Team Setup for Insane Mode
Insane Mode rewards specialization. Each player or loadout slot should cover a distinct role so the defense handles every wave type — dense groups, fast rushes, and high-health bosses — without gaps.
Opening Defender
- Low-cost early damage
- Stabilizes first 5-8 waves
- Frees currency for economy
Sustained Damage
- Mid-game core
- Efficient upgrade scaling
- Covers bends and long lanes
Control / Support
- Slows or debuffs enemies
- Extends time in damage zones
- Place centrally for wide coverage
Boss Burst
- Very high single-target damage
- Long range positioning
- Saved currency for late waves
Compare how each role performs across the phases of an Insane Mode run:
| Role | Early Waves | Mid Waves | Boss Waves | Priority |
|---|---|---|---|---|
| Opening defender | ★★★★★ | ★★★ | ★ | Build first |
| Economy support | ★★★★ | ★★★★★ | ★★ | Invest early |
| Area damage | ★★★ | ★★★★★ | ★★★ | Upgrade mid |
| Control / slow | ★★ | ★★★★ | ★★★★★ | Place centrally |
| Boss burst | ★ | ★★★ | ★★★★★ | Save currency |
If your team lacks total damage, swap the support slot for a second damage dealer. If fast waves reach your defense too quickly, swap a damage slot for extra control instead.
Step-by-Step Insane Mode Run
Follow this sequence from lobby to final boss wave. The order matters — most Insane Mode failures come from spending currency in the wrong phase.
Prepare the Loadout
Equip a balanced group: affordable opening damage, area damage for groups, control or support, and one boss-focused unit. Never bring only expensive specialized options.
Secure the First Bend
Place your cheapest reliable damage near the entrance and first major turn. The goal is surviving the opening waves while spending as little as possible.
Invest in Economy
Once the opening is stable, add economy generation in safe positions. Do not delay defensive coverage — economy units go where they do not leave a lane exposed.
Layer Mid-Game Damage
Cluster area damage around bends and intersections where enemies spend the most time. Upgrade your existing damage before buying unnecessary extra units.
Save for Boss Waves
Hold currency for milestone upgrades on your boss-damage units. Place them where they stay active for the greatest portion of the route, then survive the final encounters.
Upgrade reliable damage first, add specialized units second, and never spend your entire currency balance before the next wave preview. A saved reserve is what saves a run when a fast rush appears.
Placement Strategy and Common Mistakes
Placement decides whether your damage actually lands. On Insane Mode routes, enemies move quickly, so units must cover long path sections rather than a single short stretch.
Placement principles by map feature:
| Map Feature | Best Use | Units to Place |
|---|---|---|
| Long straight lane | Maximum attack time | Sustained damage, boss burst |
| Sharp bend | Multiple angles of fire | Area damage clusters |
| Intersection | Coverage of several routes | Control / support |
| Entrance zone | Early wave control | Cheap opening defenders |
| Path end | Leak insurance | Flexible cleanup damage |
First, stacking every unit in one small area on multi-route maps. Second, placing boss damage where it only covers a short path section. Third, spending all currency on early upgrades so nothing remains for the boss wave — the most common Insane Mode failure.
Pre-Run Checklist:
- Loadout includes opening damage, area damage, control, and boss burst
- At least one unit reliably handles fast enemies
- Placement plan covers the longest lanes first
- Currency reserve plan set for boss wave upgrades
- Co-op roles assigned before the match starts
Co-op Tactics and Rewards
Co-op makes Insane Mode significantly more accessible. Divide responsibilities instead of every player building identical damage setups:
| Player Role | Duty | Key Timing |
|---|---|---|
| Opening defender | First lane coverage and early upgrades | Wave 1 onward |
| Economy specialist | Income investment once opening is safe | After waves stabilize |
| Support player | Central control and buff placement | Mid-game onward |
| Boss damage player | Reserve currency, position on long lanes | Final third of the run |
Rewards from higher difficulty runs generally justify the added risk only when your team can clear consistently. A slightly easier difficulty with fast, repeatable wins often out-earns an Insane Mode attempt that frequently fails. Track your average clear time and reward per run before committing to long farming sessions — and check the official Cameraman Tower Defense Roblox page and the Aligators Games community for balance updates that may shift the meta.
Balance changes can alter unit damage, range, and upgrade costs. Re-test your Insane Mode build after each update, especially when enemy health or wave speed changes are announced.
FAQ
Q: Can I beat Insane Mode solo in Cameraman Tower Defense?
Yes, but it requires an optimized loadout. Combine an affordable opening defender, economy generation, sustained mid-game damage, and one boss-focused carry. Co-op is easier because roles can be divided between players.
Q: What is the most common reason Insane Mode runs fail?
Spending all currency on early upgrades and having nothing left for boss waves. Fast enemy rushes and dense late waves punish teams without a saved reserve and dedicated control.
Q: Should I prioritize rare units for Insane Mode?
Judge units by cost efficiency, range, upgrade scaling, and team role rather than rarity alone. A lower-rarity unit that covers the opening waves cheaply is often more valuable than an expensive option placed too late.
Q: How do I handle boss enemies on Insane Mode?
Place boss-damage units where they attack for the greatest portion of the route, add slowing or control support so bosses stay in the damage zone longer, and time milestone upgrades right before boss waves arrive.